
First thank you to Simona Cotin and Super Diana for answering the noob docker and nginx questions and reminding me that nginx is better for static files than node. Also thank you to the amazing humans who built a Docker extension for VSCode.
One of my main frustrations when it comes to Create React App, or really any frontend app that is served statically without a server backing it, is that your routes are now gone. You can access them from inside the app and go from page to page but if you try to access a page directly well… This happens:
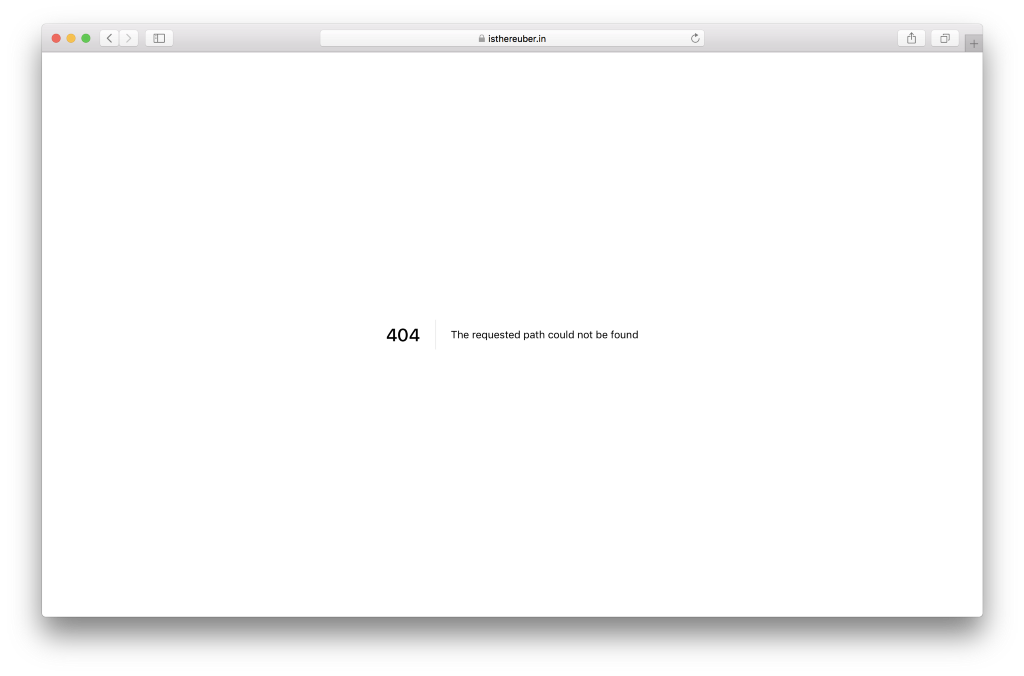
This is not okay, I know the website is static but the user doesn’t need to know.
Nginx to the Rescue
We will now need to create a nginx configuration for our server. The reason I choose nginx over node is mostly because it has been proven to be faster for static assets but you can totally do this with node.
A configuration file for nginx is a nginx_.conf_ file so let’s start by creating that file and start coding it:
This is a pretty standard configuration for nginx and we tell it where to show our files and what the cache expiration date is. There is also some helpers for 404 and logs.
We don’t enable gzip here but for an example with it you can look here.
Docker time
Now that we have our nginx config we can now create our Dockerfile and we will start by stating what is the base image we will be using:
After this we need to tell docker what it needs to run our app and in this case we need to do three things:
- Copy the build folder over to /var/www
- Copy the nginx.conf to it’s folder in /etc/nginx/
- Expose the port 80 to the public since that is the one we are using in the nginx config
Details on how to do this are below:
Now to finish our Dockerfile we need to tell it what command to run and for that we will the nginx cli and pass it as the entrypoint in our Dockerfile:
As you can see we run nginx with -g daemon off; so that nginx stays in the foreground so that Docker can track the process properly (otherwise your container will stop immediately after starting). You can read more about this here.
You can now build and tag this image with:
And then run it with:
If you use now you can just deploy this as it is and now will build and run the image on their own servers.
We now have static routes on our static projects! If someone hits any route on your webapp this will be redirected to index.html and your app will work flawlessly.
This is the webapp I used to test this approach: https://github.com/SaraVieira/rick-morty-random-episode
https://rick-morty-random-episode.now.sh/
Routes 🎉


